Cave: Game User Interface (Game UI) System
Detecting UI Interactions
Lesson 4 of 6 • 10 XP
Keep your place in this quest
Log in or sign up for free to subscribe, follow lesson progress, and access more learning content.
In this lesson, you will learn how to detect user interactions with UI Elements in Cave Engine.
We will see how to identify when the mouse cursor is hovering over a UI Element and when the element is clicked. With these events, you can make your interface respond to the player during gameplay.
These interactions are essential for creating buttons, menus, settings screens, inventory interfaces, pause menus, dialogue options, and many other UI systems.
From these events, you can execute Python logic, create interactive behaviors, open menus, change UI elements, play sounds, start the game, close windows, or trigger any other functionality your interface needs.
1. Allow Hover
To detect when the mouse cursor is hovering over a UI Element, select the desired UI Element and, in the Behaviour tab, enable the Allow Hover option.
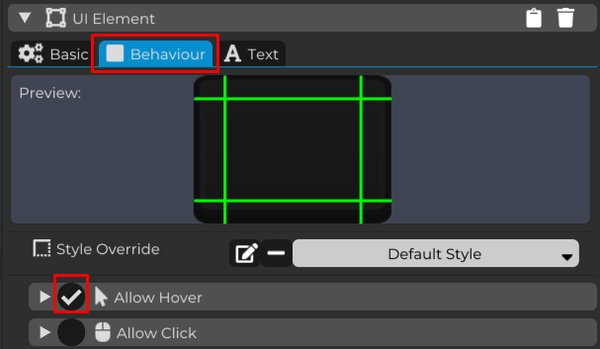
In the Preview, you can visualize the appearance of the UI Element without needing to run the game.
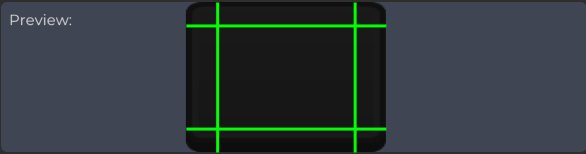
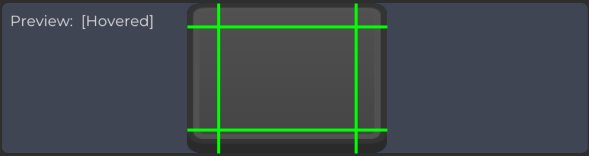
After enabling Allow Hover, move the mouse cursor over the preview area to observe the visual change between the normal state and the hover state.
This is very useful while developing the interface, because you can quickly test if the element is reacting visually as expected.
For example, you can use the hover state to make a button brighter, change its color, increase its opacity, or give the player a clear indication that the element can be interacted with.
2. Allow Click
Enable the Allow Click option to allow the UI Element to detect when the user clicks on it.

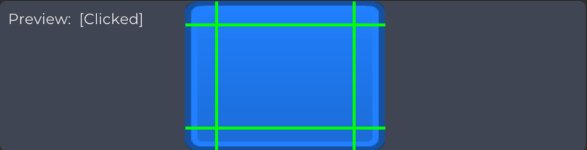
Just like with Allow Hover, the behavior of Allow Click can also be tested directly in the Preview.
This allows you to verify how the element looks when pressed, without having to constantly run the game only to test small visual adjustments.
3. Executing Logic
To execute logic from UI interactions, click the arrow icon located on the left side of the Allow Hover and Allow Click options.
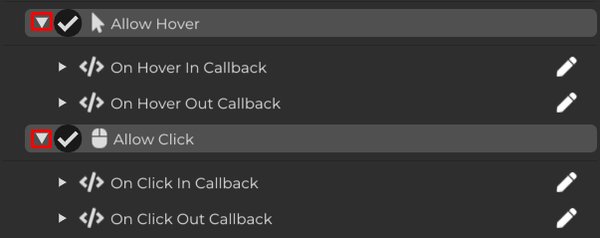
Here we can use the Callbacks.
Callbacks allow you to access the events related to the UI Element interactions, making it possible to add custom behavior when the cursor enters the element, leaves the element, clicks it, or releases the click.
To edit the logic that will be executed in these events, click the pencil icon.
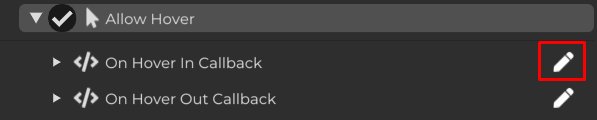
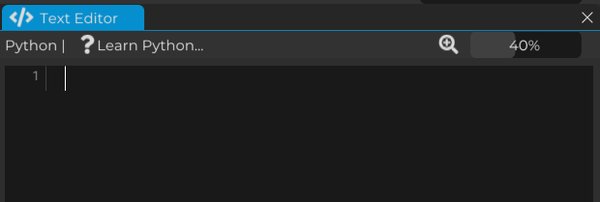
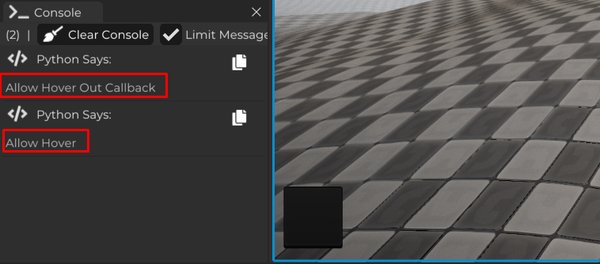
To test the Hover callbacks, let’s add a simple print message in each event.
In the On Hover In Callback, which is executed as soon as the cursor is detected over the UI Element, add a print message to confirm that the interaction was detected.

Then, in the On Hover Out Callback, which is called when the cursor leaves the element, add another print message to verify when this exit event is detected.
This way, we can see in the Console exactly when the cursor enters and leaves the UI Element area.
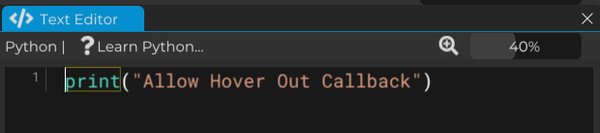
Now run the game and interact with the UI Element by moving the mouse cursor over it and then moving it away.
Watch the Console to verify when the print messages are displayed.
This is one of the simplest ways to debug UI interaction logic, because it confirms that the event is being called correctly.
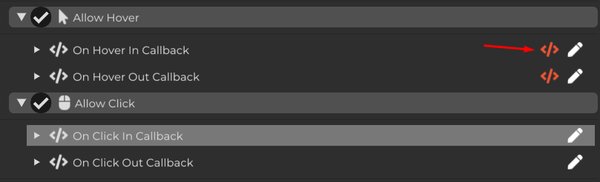
The red icon next to the Callback indicates that it is not empty. In other words, there is logic or script configured to be executed by that event.
This indicator makes it much easier to visually identify which events already have behavior associated with them.
As your interface grows, this becomes very useful because you can quickly see which UI Elements already have interaction logic configured.
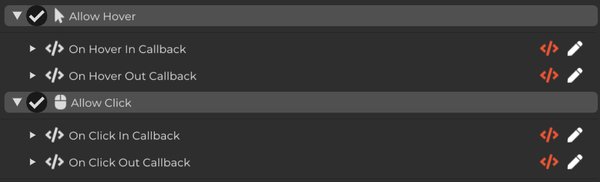
Now let’s add print messages to verify the click events of the UI Element.
In the On Click In Callback, add a print message to identify the moment when the click over the element is detected.
Then use the On Click Out Callback to add another print message, allowing you to verify when the click is finished, meaning when the mouse button is released.
This distinction is important because some UI behaviors should happen when the button is first pressed, while others should happen only when the click is released.
For example, you may want to visually press the button on Click In, but only confirm the action on Click Out.
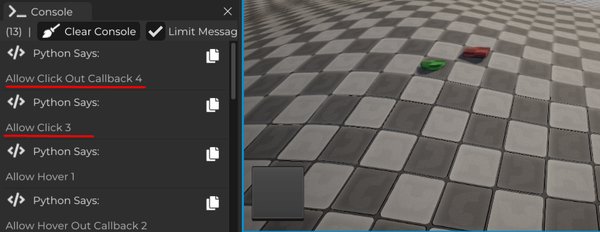
Run the game and observe the Console while interacting with the element.
When you hover, click, release, and move the mouse away from the UI Element, the corresponding callbacks should be executed and their print messages should appear in the Console.
At this point, you already know how to detect the most basic UI interactions in Cave Engine.
By combining Allow Hover, Allow Click, and callbacks, you can start creating real interactive interfaces, such as buttons that open menus, settings sliders, confirmation windows, pause menus, and any other UI behavior your game needs.