Cave: Terrain System Introduction
Pintando o Terreno
Lesson 5 of 6 • 10 XP
Keep your place in this quest
Log in or sign up for free to subscribe, follow lesson progress, and access more learning content.
In this lesson, you will learn how to paint the terrain using the materials and Layers configured in the previous lesson.
Painting the terrain is where the environment starts to become visually interesting. Instead of using only one texture across the entire surface, we can combine different materials such as grass, dirt, rocks, gravel, sand, mud, and other surfaces to create a richer and more natural result.
The goal is not only to apply textures, but also to blend them carefully so the terrain feels more organic and believable.
1. Layer Paint
With the terrain selected, return to the Terrain Tool and select the Layer Paint tool.
This is the tool that allows you to apply and combine the materials configured in the Terrain Layers, painting different regions of the terrain in a practical and intuitive way.
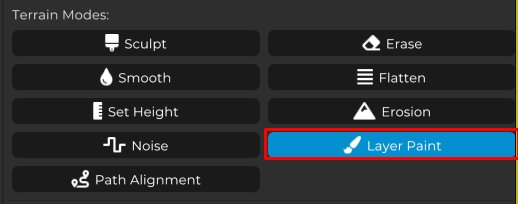
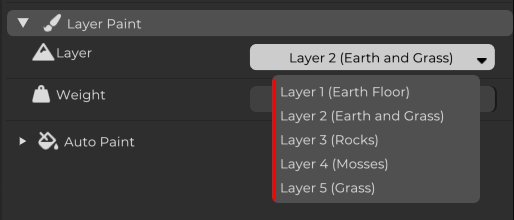
Select Layer 1, which corresponds to the first material configured in the Terrain Layers list.
Each Layer represents one material that can be painted onto the terrain. So, when you select a Layer, you are choosing which material will be applied by the brush.

2. Painting the Terrain
Now position the cursor over the desired area of the terrain and hold the left mouse button.
The texture associated with the selected Layer will be applied to that region.
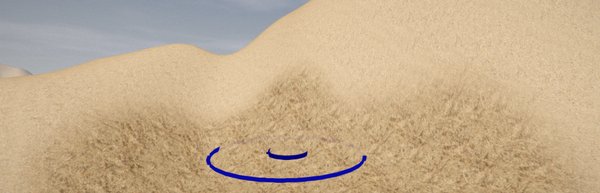
From this point on, the process is very straightforward.
Select the Layer that corresponds to the material you want to use, then paint the desired area of the terrain.
Repeat this process with the other Layers, combining different textures to create a richer, more natural environment with more visual variety.
For example, you can use grass in open areas, dirt for paths, rocks on slopes, gravel near roads, and mud or sand in specific regions depending on the style of your scene.
3. Brush Settings
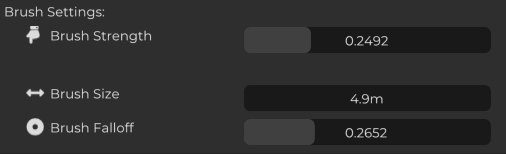
Just like the sculpting tools, Layer Paint also uses brush settings to control how the texture is applied to the terrain.
-
Brush Strength controls the intensity of the painting. Higher values apply the texture with more influence, while lower values allow you to create softer transitions between Layers.
-
Brush Size defines the size of the area that will be painted. Increase this value to cover large regions quickly, or reduce it when you need more precision in smaller areas.
-
Brush Falloff controls how smooth the transition is between the center and the edges of the brush. Higher values create softer borders, while lower values make the texture application more defined.
Experiment with these settings to create natural transitions between materials and make the terrain look more organic.
A common workflow is to use a larger brush with low strength to create broad transitions, then use a smaller brush to add details and variation.
4. Removing Texture
If the painting was applied recently, you can undo it using Ctrl + Z.
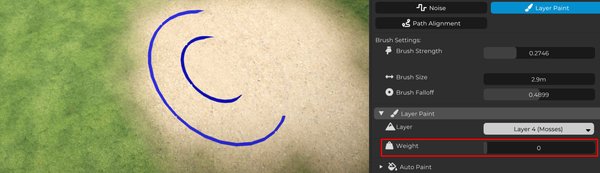
However, if you need to remove a texture that was painted earlier, or if you want to create a softer transition between Layers, you can use the Weight parameter.
The Weight controls how strongly the texture is applied.
Lower values make the material appear more subtly, which is useful for blending different surfaces together.
If you set the Weight to 0, the brush will remove the texture from the painted area. This is a great option for cleaning specific regions or correcting details while painting the terrain.

5. Adjusting the UV Scale of the Materials
In some cases, a texture may look too small, making its pattern repeat many times across the terrain.
In other situations, the texture may look too large for the scale of the scene.
Both cases can make the terrain look unnatural, so it is important to adjust the texture scale properly.
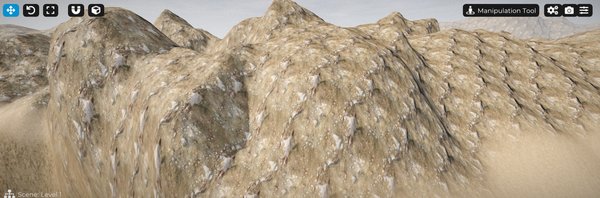
When this happens, return to the Terrain Layers section, select the corresponding Layer, and adjust the Base UV Scale value of the material.
This parameter controls the scale of the texture over the terrain.
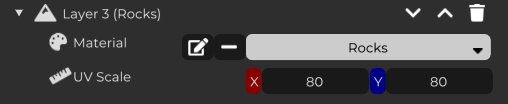
Higher values make the texture repeat more times, while lower values make the texture appear larger on the surface.
Adjusting Base UV Scale correctly is essential to keep the terrain looking natural and to reduce visible repetition in the texture pattern.
This is especially important for materials like grass, dirt, rocks, and gravel, where obvious repetition can quickly make the environment look artificial.
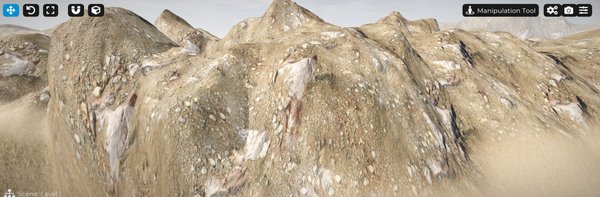
6. Transition Between Textures
Use the brush settings, such as Strength, Size, and Falloff, to create smooth transitions between the different terrain textures.
Avoid dividing materials too rigidly. In nature, surfaces usually blend into each other. Grass can slowly transition into dirt, rocks can appear mixed with gravel, and sand can gradually blend into dry soil.
This is where choosing textures that work well together makes a big difference.
Materials with compatible colors, detail levels, and visual styles will create much more natural and pleasant transitions, making the environment feel more cohesive and convincing.
Experiment with different Layers and adjust the brush intensity until you achieve a more organic and realistic result.
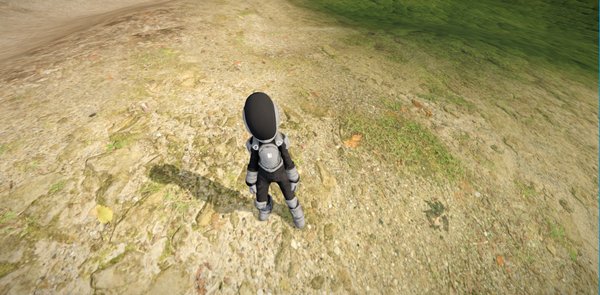
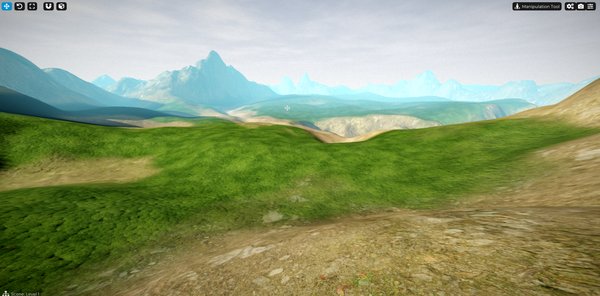
After applying all textures using the Layers and techniques shown in this lesson, the terrain will gain much more visual richness.
Take some time to adjust the transitions and test different combinations of textures.
Small details like these make a big difference in the final result and help create more immersive and visually pleasant environments.